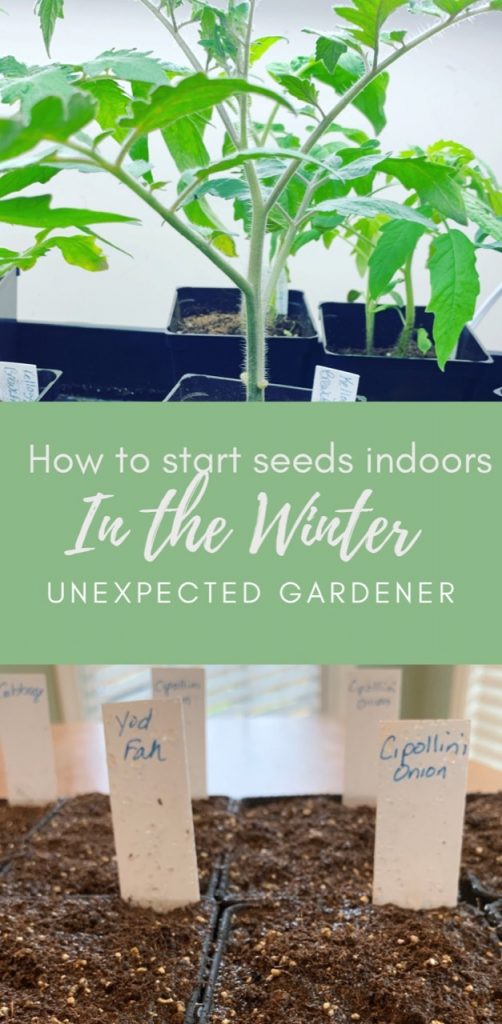
How to Start Seeds Indoors in The Winter
Here in gardening zone 7B we can begin to start cool season crops for our spring garden. There are seeds you can plant outside once the soil temperature allows, however I will need to start seeds inside to extend my growing season for cool-season crops. Read on for how to start seeds indoors in the winter!
In my region daytime temperatures can get very warm during the spring so that can limit my harvest because cool season crops will not have enough time before they bolt and go to seed. All plants want to grow and all plants want to go to seed. When the air temperatures get very warm it signals to the plant to put up a seed stalk (bolt) so that it’s seeds can carry on. We typically eat vegetables before they get to this point.
For example, we harvest leafy greens when they are small and tender. Most leafy greens like lettuce, spinach, bok choy, swiss chard, salad greens and herbs like cilantro are cool season vegetables. If we wait too long to plant they will bolt and they will become bitter. For this reason I like to start some indoors while it’s too cold out knowing by the time they are nice and healthy seedlings, I will be able to give them a head start!
Let’s get started!
You will need some supplies to get started. I know seed starting indoors can feel intimidating but I promise you will get the hang of it in no time! Here is the short list. I will link some of the supplies I use to make it easier. I do make a small commission (at no cost to you) when you use my links so I appreciate that!
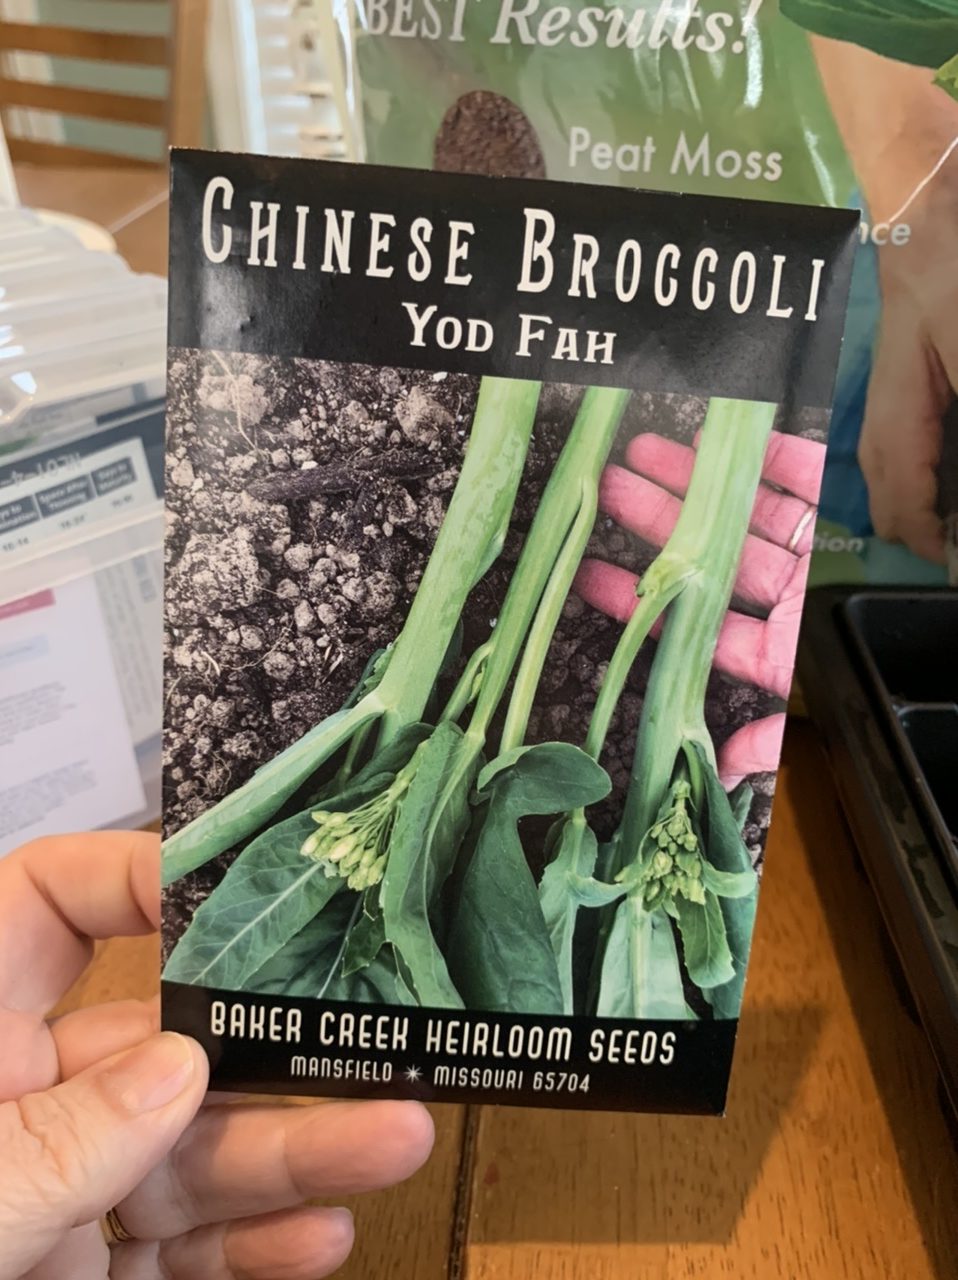
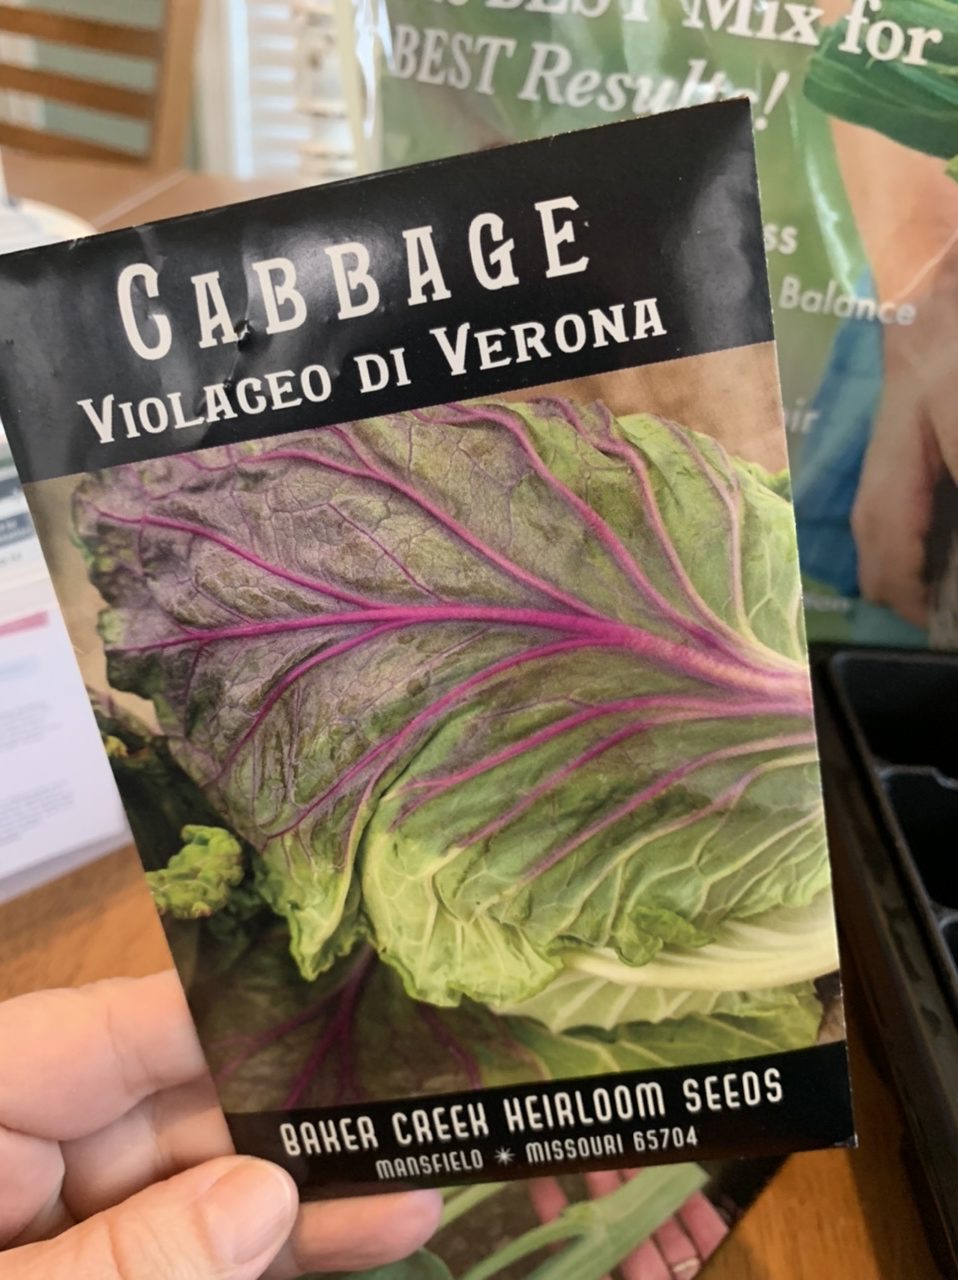
- Seed packets
- Seed starter
- Fluorescent lights
- Seed trays or plastic flats
- Seed starting pots
- Plant food
- Heat mat
- Last frost date
It is unlikely you will have enough direct sunlight from a sunny window to allow for proper growth so I would suggest setting up a shelf with some lights. I have an indoor seed starting station in my office so I can start seeds all year long as needed. If you have a cold frame you could start some seedlings in there early spring but make sure you keep an eye on the temperature.
Grab a little calendar or planner (I love this one!) and figure out your last frost date in order to decide when you should start seeds. I know it is so hard but try to resist starting your vegetable seeds too early! For example my last frost date is April 8th but we often go below freezing after that so I will not be planning to plant my young tomato plants closer to later in April. Since we need to start tomatoes 8-10 weeks before the last frost I will begin those warm-season crops late February.
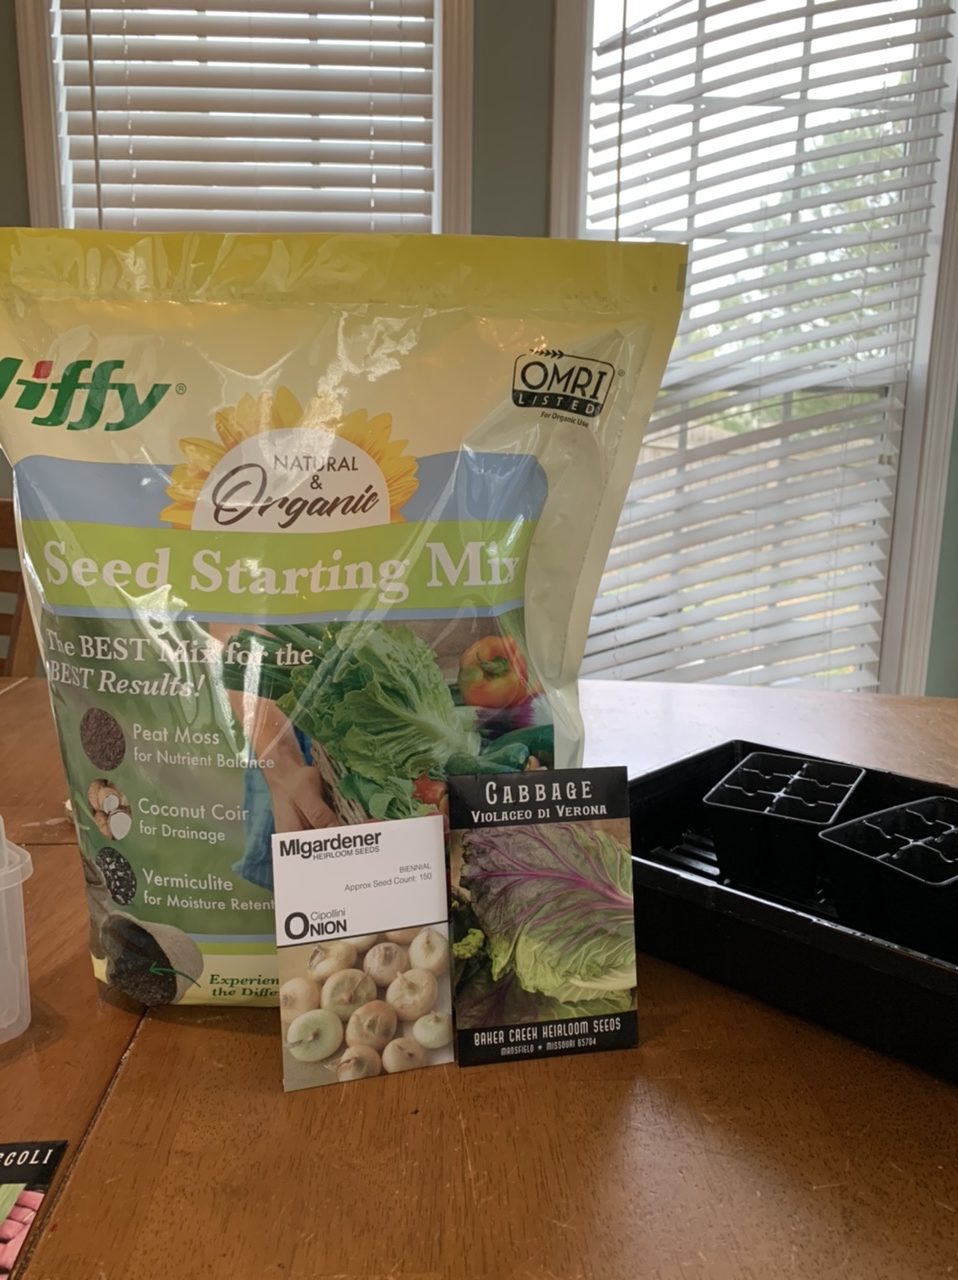
Back to cool weather crops! I am planning to start cabbage this year. I have no been able to successfully grow large cabbages so this will be the year! Onions and broccoli are also on the list this year. Focusing on growing vegetables that we actually eat means lower grocery store costs. Since I can likely plant my seedlings out a few weeks before the last frost I will start these seeds early February. With a little help, they will be able to withstand a light frost and love cool temperatures.
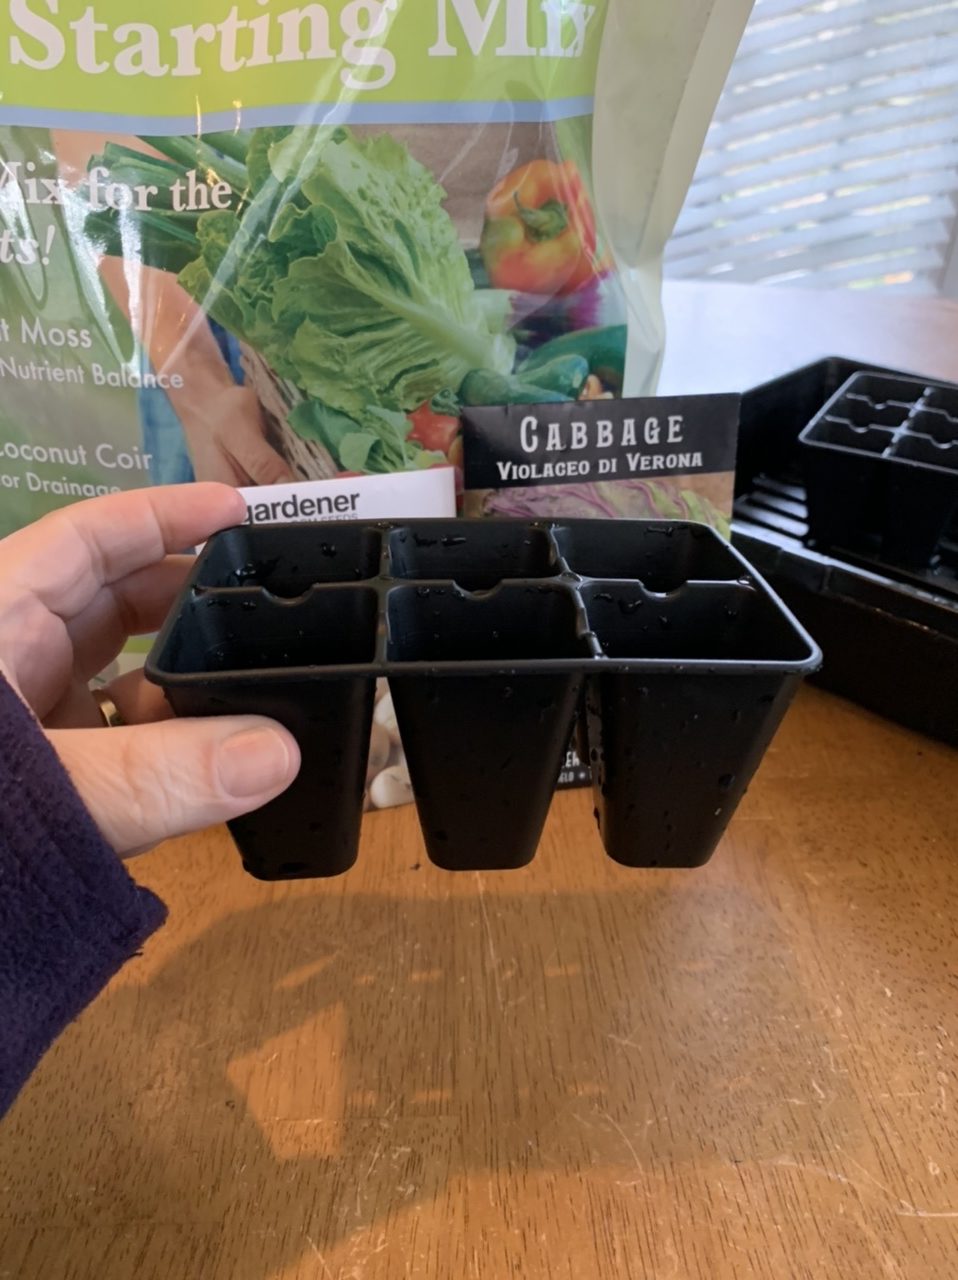
Step one is grab some seed starting soil. I really like this brand and also grab some trays and seed starting pots. Early in my gardening journey I wanted to save some money and bought some cheap trays and I quickly regretted that. Spend a little more and buy these super high quality from Bootstrap Farmer! They will last for years and years. Click here to see all they have!
Adding a little warmth will really help with seed germination. I bought two of these heat mats last year and they worked extremely well.
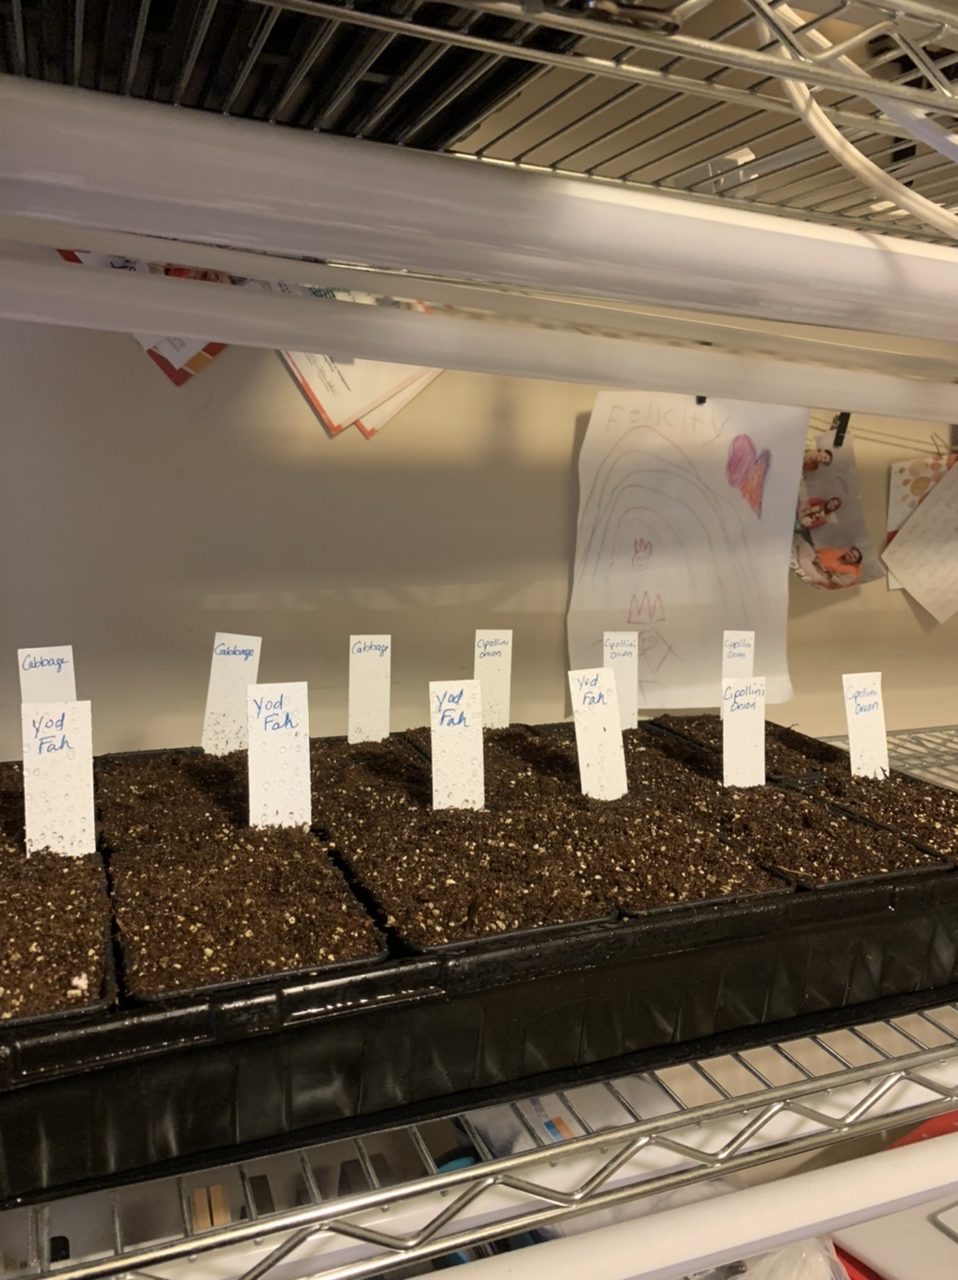
Plant one or two seeds per pot and make sure you water them well. Keeping consistent moisture is very important so make sure you keep the top moist until you have growth. Using a spray bottle works great! After that you can water from the bottom.

Once your little babies break the surface they will need light! I bought this grow light set last year and they worked amazing! All of my plant starts were extremely healthy. When positioning your lights, you want them very close to the surface of the plant so they do not become leggy. Plants will grow towards the light and if the light isn’t close enough they won’t be as strong. Here is how I set mine up so it’s easy to lower and raise them. TIP: buy a shelf that has 4 foot shelves so it is the same size as your lights.
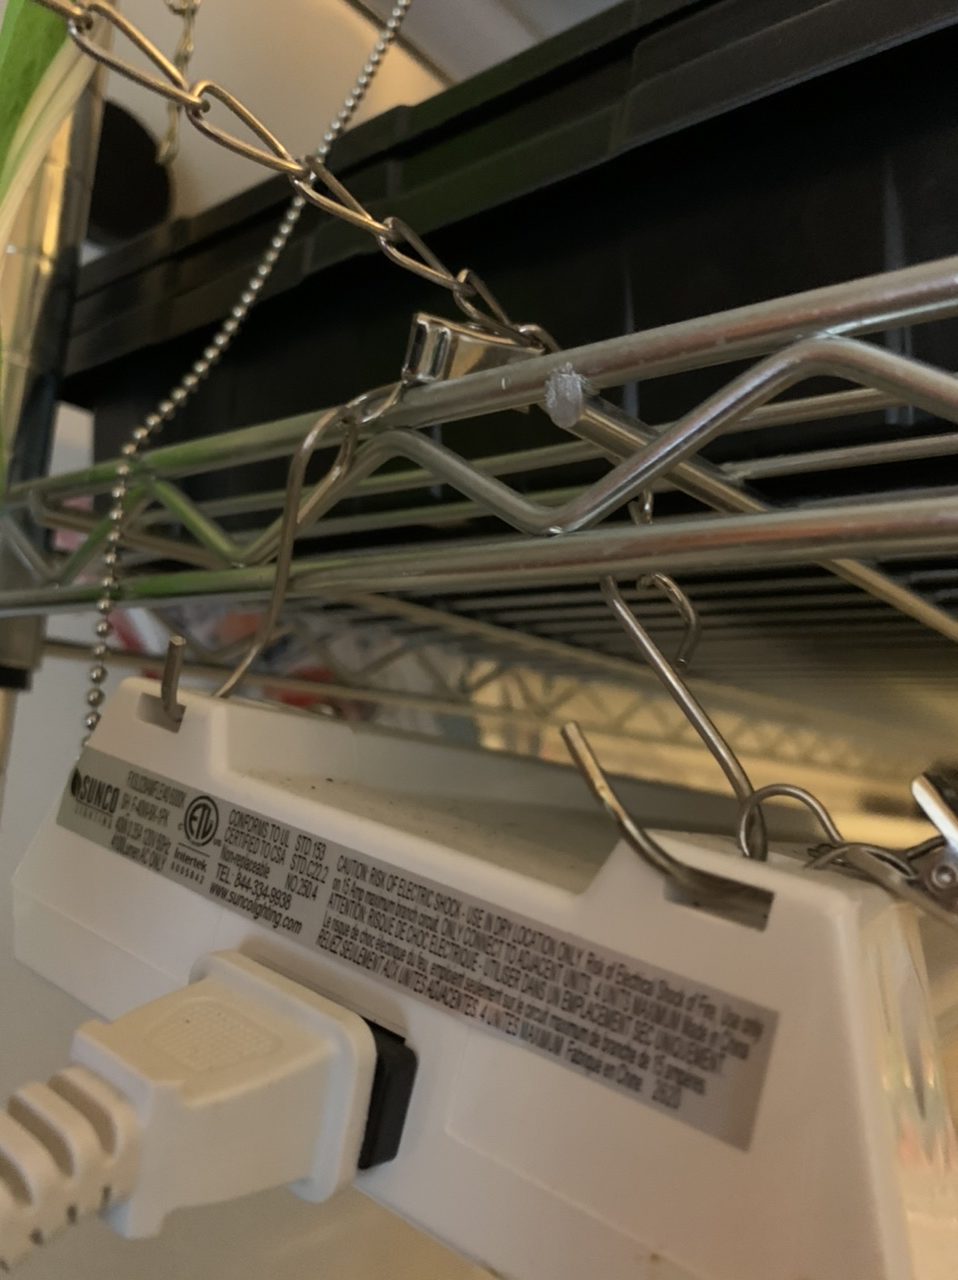
the lights to jimmy an adjustable system
Make sure they stay moist but not too wet and turn the light on once they sprout. They need about 16 hours of light so get yourself a schedule that you’ll remember or grab yourself a timer like this
Planting them outside! This is so exciting!!
Keep an eye on the weather so you know when you can transfer your babies outside. Take a few days to bring them outside for a few hours at a time to get them used to the elements. Also be prepared to cover them if the temperature gets too low. You can cover them with mason jars or plastic containers just for overnight. It will get too hot if you leave them on during the day. Cool crops will love the cooler temps and you will hopefully have enough time before it gets too hot. Growing zones north of me will have plenty of time.
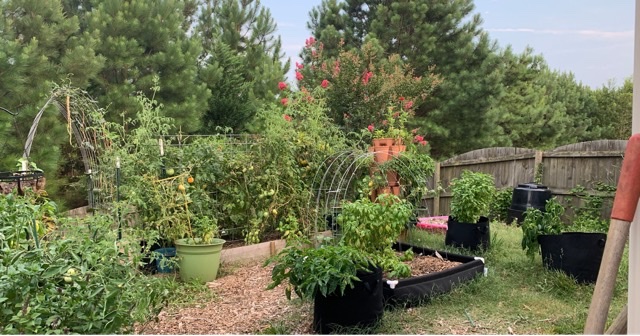
If you want to see the cool crops I grew last fall in my vertical planter click here (it was a LOT!)
It’s a gamble here in NC but if i don’t try, I definitely won’t get any!
I will start some heat loving seeds soon so look for a blog post!
What seeds are you starting indoors this winter? Share with us in the comments and please ask any questions. I’m happy to answer! If you would like to get my Gardening for Beginners course for FREE click here
- Why Supporting Local Farmers Matters More Than Ever
- Amazing Chocolate Raspberry Sourdough Bread Recipe
- Amazing Cranberry Pecan Pumpkin Seed Sourdough
- The Best Sourdough Sandwich Bread
- The Best Sourdough Protein Pumpkin Bread